English
 français
 Deutsch
 русский
 español
 português
 Nederlands
 العربية
 日本語
日本語 한국의
한국의 Türkçe
 Polski
 Tiếng Việt
 slovenský
 Indonesia



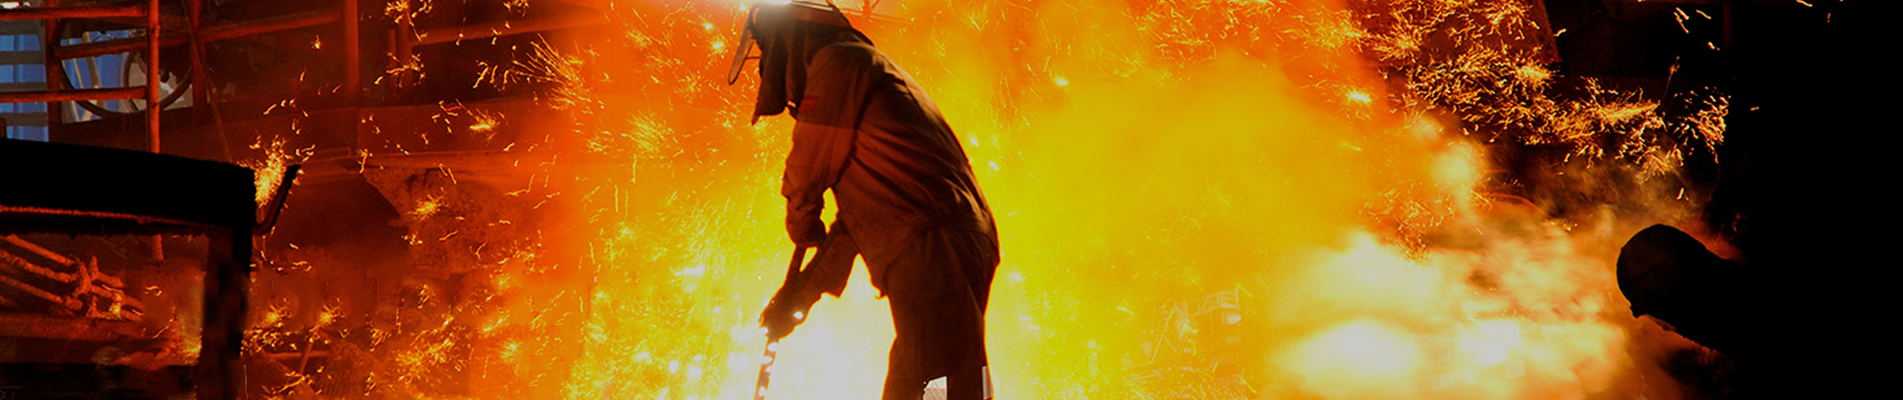
Cedimento del giunto di dilatazione in tessuto può derivare da una temperatura eccessiva a livello dello strato di tenuta, attacco chimico, abrasione, movimento oltre i limiti approvati, fluttuazioni di pressione o attacchi danneggiati. Diversi meccanismi possono agire insieme. Un nastro strappato è il risultato visibile; di per sé, non identifica la causa originale.
Per i sistemi industriali di condotti, scarico e gas di combustione, la domanda utile non è semplicemente quale tessuto debba sostituire quello danneggiato. È cosa è cambiato, dove è iniziato il danno e se l'intero assemblaggio corrisponde ancora alle sue condizioni operative.
BSTFLEX produce giunti di dilatazione in tessuto non metallico per applicazioni personalizzate su condotti. Questa guida spiega come documentare un cedimento, distinguere i possibili meccanismi e preparare una specifica di sostituzione migliore.
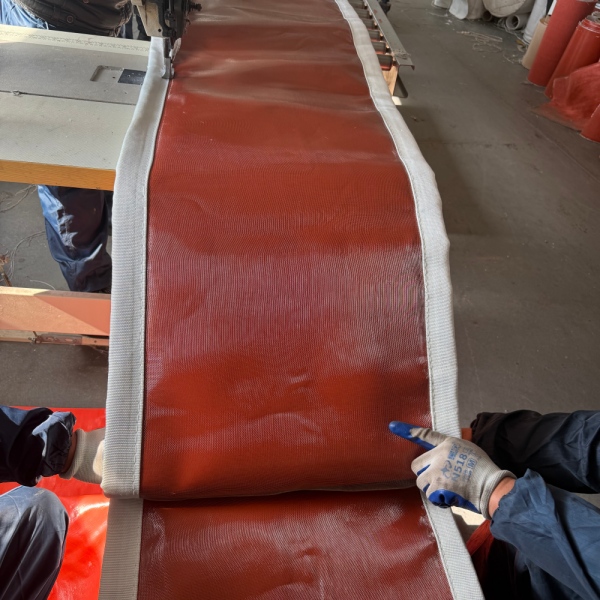
Cosa conta come cedimento di un giunto di dilatazione in tessuto?
Un giunto ha ceduto funzionalmente quando non è più in grado di soddisfare i requisiti specificati di tenuta o movimento. Una rottura importante non è l'unica preoccupazione: una chiusura separata, una barriera per gas danneggiata o una sezione flessibile ostruita possono anch'esse impedire all'assemblaggio di svolgere la sua funzione prevista.
Al contrario, un segno superficiale non stabilisce automaticamente quanta resistenza o vita utile rimanga. Registrare l'osservazione, confrontarla con la costruzione approvata e ottenere una valutazione competente. L'aspetto da solo non può autorizzare il funzionamento continuato.
In un condotto a pressione negativa, la perdita può aspirare aria esterna verso l'interno anziché produrre un pennacchio di gas o polvere verso l'esterno. L'assenza di emissioni visibili non è quindi prova di una tenuta intatta.
Leggere il modello di danno senza saltare a una diagnosi
Le seguenti osservazioni sono punti di partenza per l'indagine, non un test diagnostico. Mantenere l'orientamento del componente danneggiato identificabile in modo che le prove possano essere correlate al condotto, al rivestimento e alle condizioni di processo.
| Condizione osservata | Domande da indagare | Prove da conservare |
|---|---|---|
| Scolorimento localizzato o rivestimento indurito | Lo strato è stato surriscaldato, esposto chimicamente o influenzato da un cambiamento nell'isolamento? | Cronologia della temperatura, disposizione della copertura e fotografie prima della rimozione |
| Assottigliamento o sfilacciamento accanto a un rivestimento | Delle particelle hanno colpito il nastro o il tessuto ha sfregato contro il metallo? | Posizione dell'usura, bordi del rivestimento, segni di contatto e misurazioni del gioco |
| Strappo in un angolo o bordo bloccato | Il movimento, la geometria dell'attacco e le superfici di tenuta rientravano nel design approvato? | Posizione a freddo, condizione del morsetto, dettagli degli angoli e registri dei movimenti |
| Sfarfallio ripetuto o deformazione verso l'interno | La pressione, il flusso o la vibrazione dell'attrezzatura sono cambiati? | Modalità operativa, dati di pressione e osservazioni remote autorizzate |
| Perdita vicino a una chiusura o flangia | La perdita è nel nastro, nel suo giunto, nella guarnizione o nella carpenteria metallica adiacente? | Identificazione della chiusura, registri di installazione e posizione confermata della perdita |
| Depositi che riempiono la cavità del giunto | Del materiale è entrato nella cavità e ha limitato il movimento previsto? | Posizione del deposito e condizione della protezione interna prima della pulizia |
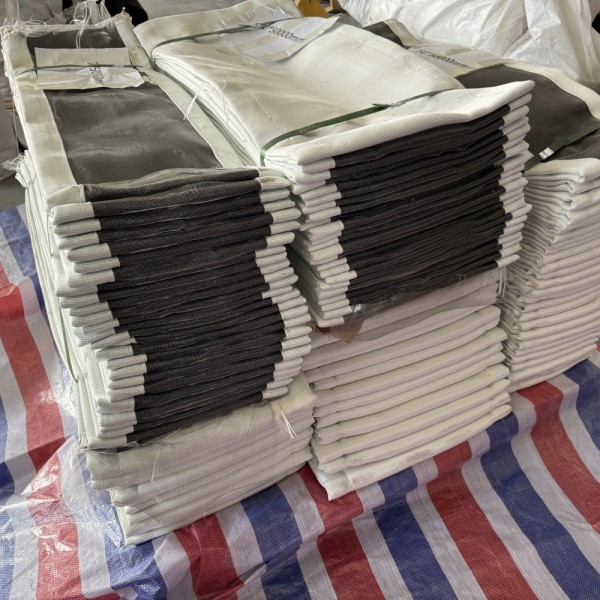
Sette meccanismi di cedimento che vale la pena controllare
1. Temperatura eccessiva allo strato sbagliato
Un tessuto ad alta temperatura non stabilisce la capacità di temperatura di ogni componente attorno ad esso. La membrana di tenuta, il rivestimento, la chiusura e l'area di attacco necessitano ciascuno di una protezione adeguata.
Rivedere le escursioni di processo insieme alla condizione dei cuscini isolanti e della protezione lato caldo. Uno strato esterno può subire un calore eccessivo quando l'isolamento interno si sposta o quando una copertura aggiunta modifica la dissipazione del calore, anche senza un aumento documentato della normale temperatura del gas.
L'azione correttiva dovrebbe seguire la revisione termica. Un tessuto esterno diverso è solo un possibile cambiamento. La nostra guida ai giunti di dilatazione in tessuto per alte temperature spiega come l'intero assemblaggio gestisce l'esposizione.
2. Attacco chimico e condensazione
La resistenza alla temperatura non stabilisce la compatibilità chimica. Il gas di processo, la condensa e gli agenti detergenti possono esporre il sistema di tenuta a condizioni non coperte dalla sua specifica originale.
Verificare se il danno coincide con aree umide, posizioni fredde o un cambiamento nel combustibile, nella chimica di processo o nella pratica di arresto. Laddove la condensazione sia rilevante, rivedere le condizioni operative minime oltre alla temperatura massima.
Le costruzioni a base di PTFE e rivestite in silicone non sono intercambiabili semplicemente perché entrambe utilizzano un rinforzo in fibra di vetro. Confermare la funzione richiesta e la compatibilità di ogni strato. Vedere materiali per giunti di dilatazione in tessuto per la distinzione tra tenuta, rinforzo e protezione termica.
3. Abrasione, contatto metallico e accumulo di particolato
Il flusso di gas abrasivo e lo sfregamento contro un rivestimento possono entrambi produrre un'usura localizzata, ma richiedono azioni correttive diverse. Ispezionare il percorso del flusso e la geometria di contatto invece di trattare ogni sfilacciamento come un problema di resistenza del materiale.
Un rivestimento di flusso protegge l'elemento flessibile dall'esposizione diretta. Una barriera di accumulo limita l'accumulo di particolato nella cavità. Le loro funzioni differiscono ed entrambe devono rimanere compatibili con il movimento del giunto.
Ispezionare per verificare la presenza di bordi deformati, componenti interni spostati e depositi che occupano lo spazio di movimento. Controllare il gioco nelle posizioni operative specificate, non solo nella posizione visibile durante l'arresto. Non aggiungere isolamento o guarnizioni sfuse come barriera di accumulo improvvisata.
4. Movimento eccessivo, preimpostazione errata o geometria limitata
Una cinghia flessibile ha un inviluppo di movimento definito. Non è una tolleranza illimitata per il disallineamento dei condotti, lo spostamento dei supporti o l'errore di installazione.
Confrontare la geometria rilevata con la posizione a freddo approvata. Separare la preimpostazione intenzionale dall'offset non intenzionale, quindi rivedere i movimenti assiali, laterali e angolari, comprese le combinazioni che si verificano insieme.
Controllare anche se un rivestimento, una struttura circostante o un fermo di trasporto fissato in modo errato limita il movimento. Qualsiasi rimozione del fermo deve seguire la sequenza di installazione e i requisiti di supporto. Una cinghia di ricambio più larga non corregge automaticamente la geometria e può creare nuove pieghe o punti di contatto.
5. Problemi di serraggio, guarnizione o chiusura
Le perdite vicino a un attacco non hanno necessariamente origine nell'estensione principale del tessuto. Ispezionare le barre di serraggio fissate, le superfici di tenuta, le guarnizioni richieste, gli elementi di fissaggio e la chiusura della cinghia.
Bordi taglienti e superfici irregolari meritano particolare attenzione laddove il danno segue la linea di serraggio. Confrontare le parti fornite e il registro di installazione con il disegno approvato.
Le chiusure in campo e i requisiti di serraggio dei bulloni dipendono dalla costruzione. Non esiste una coppia di serraggio, un adesivo o una procedura di giunzione universale per ogni giunto in tessuto. Un maggiore serraggio non è un metodo di riparazione generale e una connessione sotto pressione che perde non deve essere regolata come fase di ispezione informale.
6. Pulsazione di pressione e vibrazioni ripetute
Il tessuto selezionato per accogliere il lento movimento termico deve essere adatto anche a qualsiasi movimento ad alta frequenza nell'installazione. Registrare le condizioni operative del ventilatore e le fluttuazioni di pressione invece di descrivere il servizio solo come a bassa pressione.
La pressione negativa può tirare il tessuto verso i componenti interni. Le vibrazioni ripetute possono quindi combinare il carico ciclico con lo sfregamento o l'esposizione alle particelle.
La revisione dovrebbe affrontare insieme i limiti di pressione, la costruzione del tessuto, la geometria non supportata e la disposizione del rivestimento. Il semplice irrigidimento della cinghia può entrare in conflitto con i suoi requisiti di movimento. Il movimento imprevisto dovrebbe essere indagato, non accettato semplicemente perché il prodotto è flessibile.
7. Danni da installazione e modifiche attorno al giunto
Non tutti i guasti iniziano con il mezzo di processo. Danni da manipolazione, saldatura o molatura nelle vicinanze, utensili affilati e successivi lavori di manutenzione possono danneggiare un elemento flessibile altrimenti idoneo.
Controllare le fotografie di ricezione e la sequenza dei lavori in loco. Confrontare l'installazione attuale con il registro originale: è stato esteso l'isolamento, aggiunta una protezione o modificata l'attrezzatura circostante?
Rivedere anche l'invecchiamento naturale e l'esposizione cumulativa. Una cinghia che si adattava correttamente quando era nuova potrebbe non essere più adatta dopo un servizio termico, chimico e meccanico prolungato. La tempistica di sostituzione dovrebbe seguire le condizioni, l'uso e la guida del produttore piuttosto che il solo aspetto.
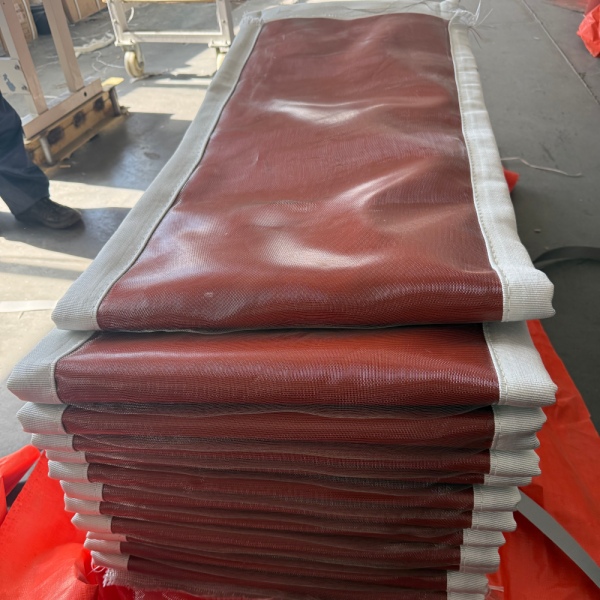
Ispezionare in due diverse finestre operative
Durante il funzionamento: osservare senza disturbare la connessione
Laddove la valutazione dei rischi del sito lo consenta, il personale autorizzato può registrare le condizioni esterne da una posizione sicura. Le osservazioni utili includono cambiamenti nella forma della cinghia, vibrazioni, perdite visibili ed esposizione al calore circostante, abbinate allo stato operativo.
Un'ispezione termografica qualificata può aiutare a identificare i modelli di temperatura per ulteriori indagini. Non misura direttamente ogni strato interno né prova la causa di un'area calda.
Non toccare, sondare, allentare, stringere o rimuovere componenti per indagare su un giunto in funzione. Sospette perdite pericolose, rapido deterioramento o grave deformazione richiedono un'escalation immediata secondo la procedura di risposta dell'impianto, non una decisione di attendere la successiva ispezione di routine.
Durante un arresto autorizzato: esaminare l'intero assemblaggio
Il lavoro manuale richiede isolamento verificato, temperature sicure, scarico della pressione e accesso adeguato. Applicare le procedure del sito per i permessi, l'isolamento energetico e gli spazi confinati ove pertinente. Confermare il supporto del condotto e valutare la contaminazione prima dello smontaggio o del campionamento.
Preservare le condizioni rilevate prima della pulizia approvata. Fotografare la cinghia all'interno e all'esterno, identificare a monte e a valle e contrassegnare le posizioni dei danni su uno schizzo. Esaminare telai, chiusure, rivestimenti e isolamento invece di rimuovere solo il materiale visibilmente strappato.
Registrare le aree inaccessibili come non ispezionate. Un rapporto dall'aspetto completo non dovrebbe nascondere lacune nelle prove.
Costruire un registro dei guasti che possa essere confrontato
Utilizzare un registro per ogni tag di giunto. Il rapporto più utile collega le prove fisiche a date, condizioni operative e design originale.
Descrivere l'evento: Registrare la data di installazione, il primo danno osservato, la durata del servizio e se il problema ha fatto seguito all'avvio, a un'escursione di processo o a lavori di manutenzione.
Individuare il danno:Identificare il lato, l'angolo, il morsetto o la chiusura interessati. Includere fotografie panoramiche e primi piani con una scala di riferimento, ove sicuro.
Registrare cosa è cambiato:Confrontare temperatura, pressione, composizione del gas, polvere, movimento e isolamento circostante con le specifiche approvate. Contrassegnare i dati non disponibili come sconosciuti.
Separare le prove dall'interpretazione:Scrivere "strappo adiacente al morsetto a monte" come osservazione. Registrare "possibile contatto locale" come ipotesi finché la geometria o i risultati dell'ispezione non la supportano.
Questa separazione rende le discussioni tra il personale dell'impianto, l'appaltatore dell'installazione e il produttore più utili rispetto all'assegnazione di una causa basata su una sola fotografia.
Riparare, sostituire il nastro o revisionare l'intero assemblaggio?
Alcune costruzioni in tessuto consentono una riparazione locale o una riparazione della chiusura approvata. L'idoneità dipende dagli strati danneggiati, dalle condizioni del materiale rimanente, dall'esposizione al processo e dal metodo disponibile. Il servizio ad alta temperatura può rendere una riparazione affidabile più difficile.
Una toppa che copre un foro non stabilisce, di per sé, il ripristino della tenuta, della resistenza o della capacità di movimento. Non applicare nastro adesivo generico, adesivi, cuciture o una copertura esterna come sostituto di una riparazione approvata. Qualsiasi misura temporanea necessita di limiti definiti, monitoraggio e un piano di sostituzione.
Una sostituzione del solo nastro può essere appropriata quando l'hardware di fissaggio e la protezione interna rimangono idonei. Danni ripetuti nella stessa posizione, condizioni operative modificate o telai e rivestimenti deteriorati giustificano una revisione dell'intero assemblaggio.
Una volta selezionata la sostituzione, utilizzare la guida alla misurazione del giunto di dilatazione in tessuto di ricambio per documentare il collegamento. Non trasformare le dimensioni distorte di un nastro guasto direttamente in dimensioni di produzione.
Impedire il ritorno dello stesso guasto
Prima dell'approvvigionamento:Aggiornare le specifiche operative e identificare il meccanismo sospetto, le prove a supporto e le domande irrisolte. Concordare qualsiasi modifica necessaria a materiali, isolamento, protezione del rivestimento o geometria invece di richiedere solo un nastro più pesante.
Prima dell'avvio:Verificare le parti approvate e la posizione di installazione, ispezionare per danni da manipolazione, confermare l'attacco e la chiusura specificati e controllare i componenti interni richiesti. Mantenere detriti e ostruzioni non autorizzate fuori dall'assemblaggio. Seguire le istruzioni approvate per i vincoli di trasporto e l'isolamento esterno.
Durante il servizio:Conservare le fotografie di base e confrontare le osservazioni successive in condizioni operative identificabili. Indagare su tendenze impreviste e revisionare il giunto dopo cambiamenti rilevanti di processo o attrezzatura.
La prevenzione dovrebbe chiudere l'indagine: identificare il meccanismo, documentare la correzione approvata e verificare se le prove di ricorrenza ritornano. Sostituire un nastro senza registrare cosa è stato cambiato rende il guasto successivo più difficile da spiegare.
Ogni quanto dovrebbero essere ispezionati i giunti di dilatazione in tessuto?
Non esiste un singolo intervallo adatto a ogni installazione. Stabilire il piano di ispezione e sostituzione utilizzando la guida del produttore, le conseguenze delle perdite, il dovere operativo e la storia del sito.
Una base documentata dopo l'installazione aiuta il confronto successivo. Rivalutare il piano a seguito di temperatura o pressione anomale, condizioni operative modificate, manutenzione nelle vicinanze o segni di deterioramento. La tempistica di fermo programmato non prevale su un problema di sicurezza immediato.
Allo stesso modo, la durata di servizio non può essere dichiarata come un numero garantito di anni per ogni giunto di dilatazione in tessuto. L'esposizione termica, la chimica, il movimento, l'installazione e le condizioni dei componenti devono essere considerati insieme.
Inviare a BSTFLEX le prove con la richiesta di sostituzione
BSTFLEX supporta la produzione basata su disegno di nastri flessibili personalizzati e assemblaggi. Le nostre capacità di produzione di giunti di dilatazione in tessuto coprono configurazioni di condotti industriali rotondi, rettangolari e specifici per progetto.
Per un preventivo di sostituzione, inviare l'etichetta del giunto, il disegno o il rilievo dimensionale, le fotografie del danno, i dati operativi e la quantità richiesta. Indicare se l'ambito è solo il nastro, il nastro con componenti interni o un assemblaggio completo, e identificare la data di consegna richiesta.
Includere i risultati dell'ispezione dell'impianto ed eventuali cause irrisolte. Questi documenti supportano una revisione dei requisiti di sostituzione; le sole fotografie non possono certificare le condizioni dell'assemblaggio guasto o autorizzare il funzionamento continuo.
Consultare la pagina del prodotto giunto di dilatazione in tessuto non metallico personalizzato per le configurazioni disponibili.
Richiedere un preventivo per un giunto di dilatazione in tessuto di ricambio